The Invoice details page in Ad Sales Genius allows you to view, edit, delete, and write-off invoices. You can apply payments, access the insertion order, sync the invoice to QuickBooks, and more. This article will discuss the Invoice details page and its capabilities.
To Access an Invoice
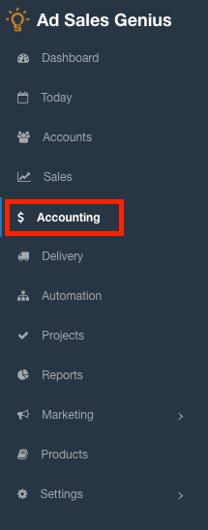
- Click Accounting from the left-hand navigation menu.
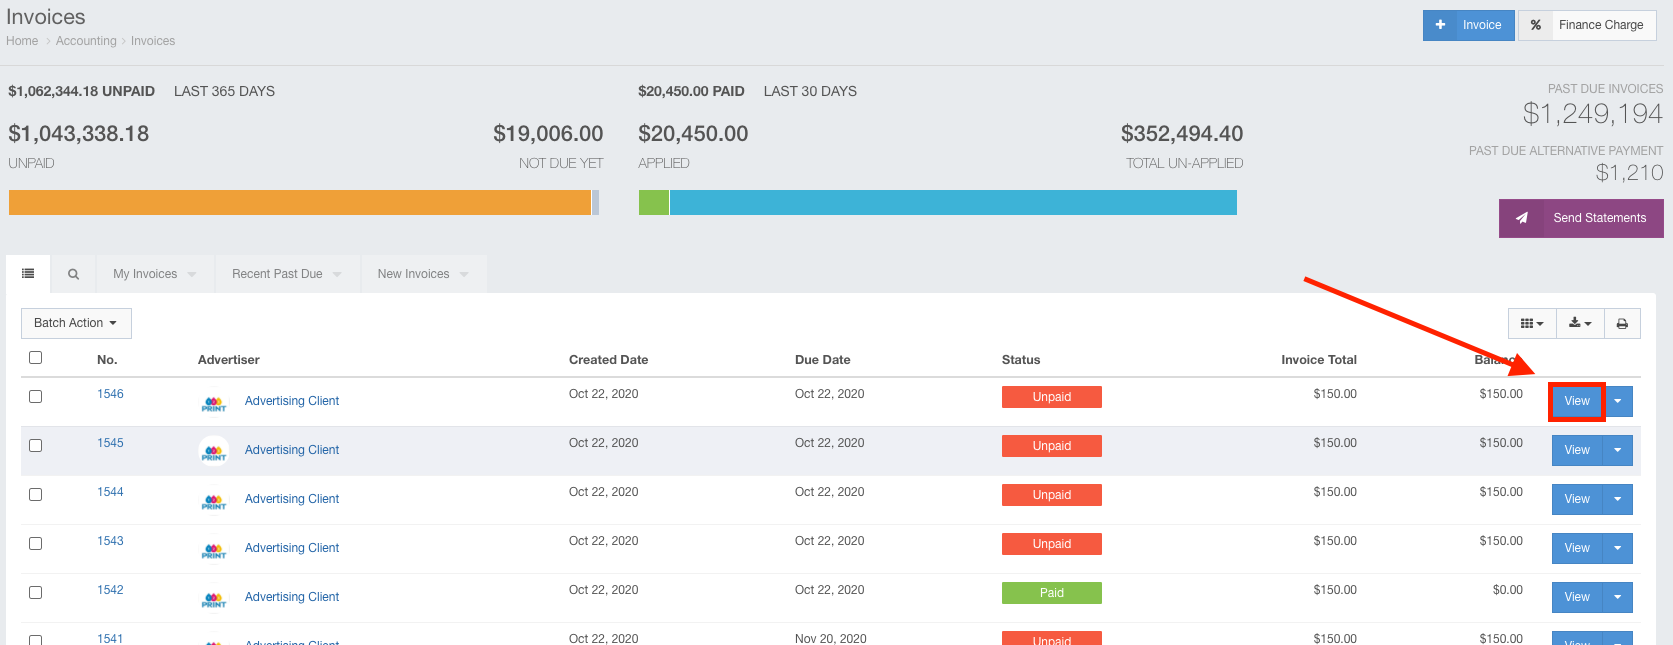
- Click on the Invoices tab to display the invoices page.

- Click the View button next to the invoice that you want to view to display the invoice.
- Here, you will see the Invoice Details Panel. You can use this page to view and configure invoice details, line items, payments, commissions, and more.
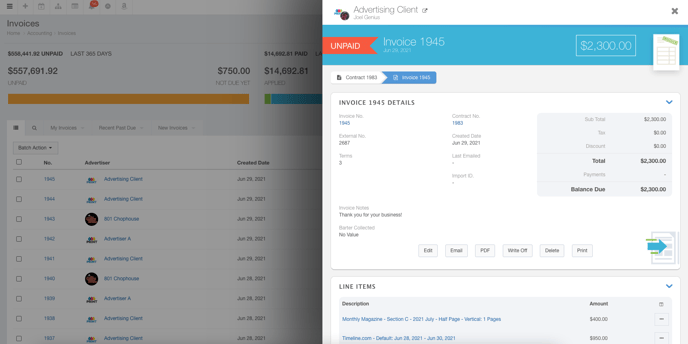
- Click the Edit button to make changes to this invoice.
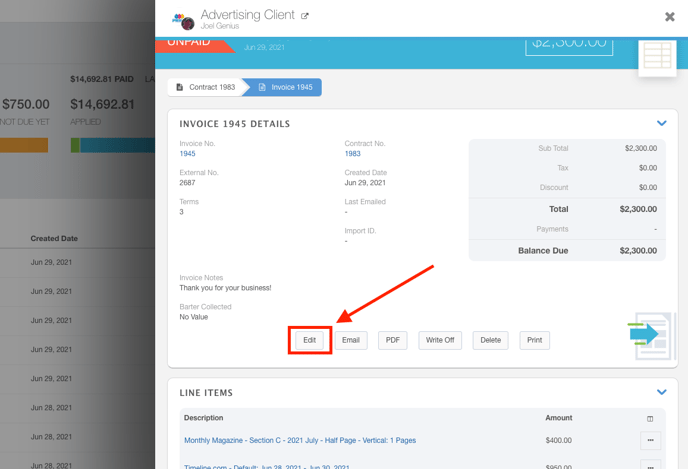
You will now see the details of the selected invoice.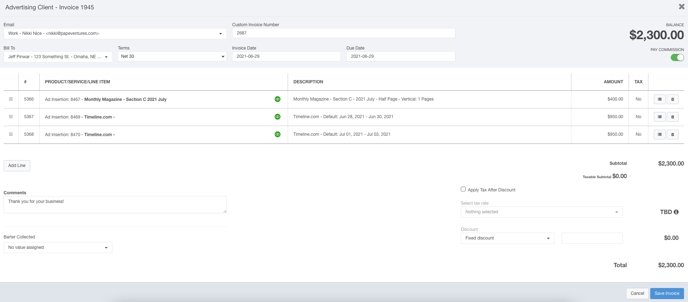
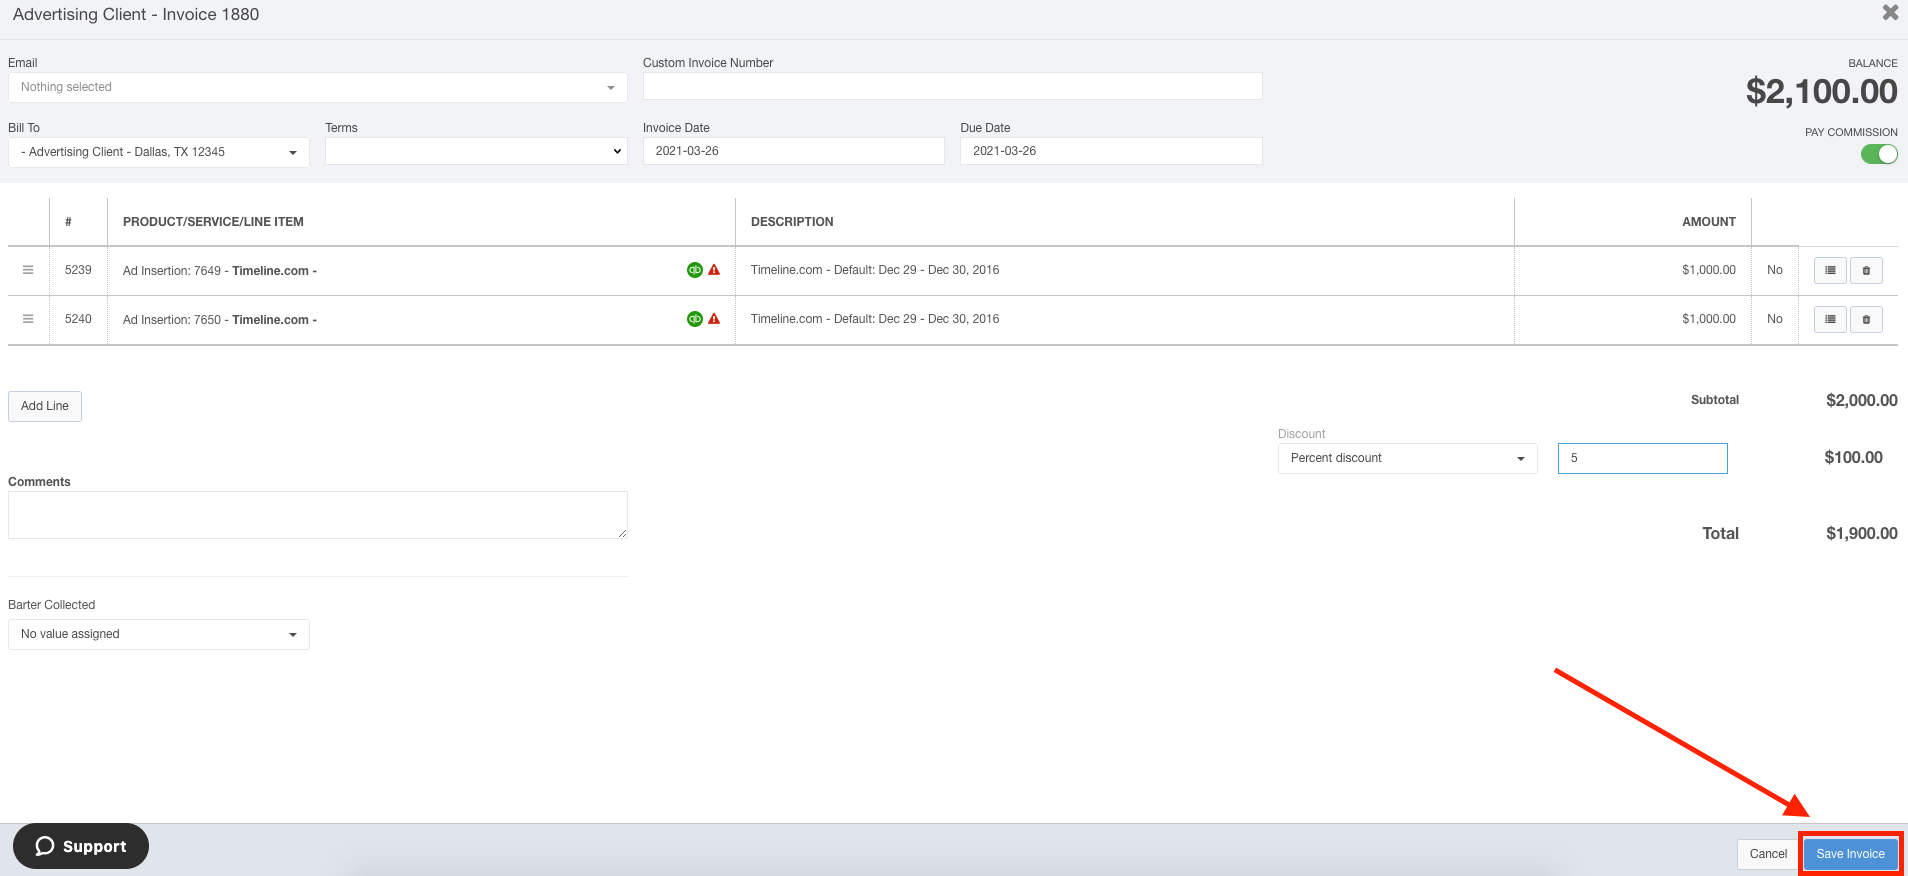
Use The Invoice Edit Window
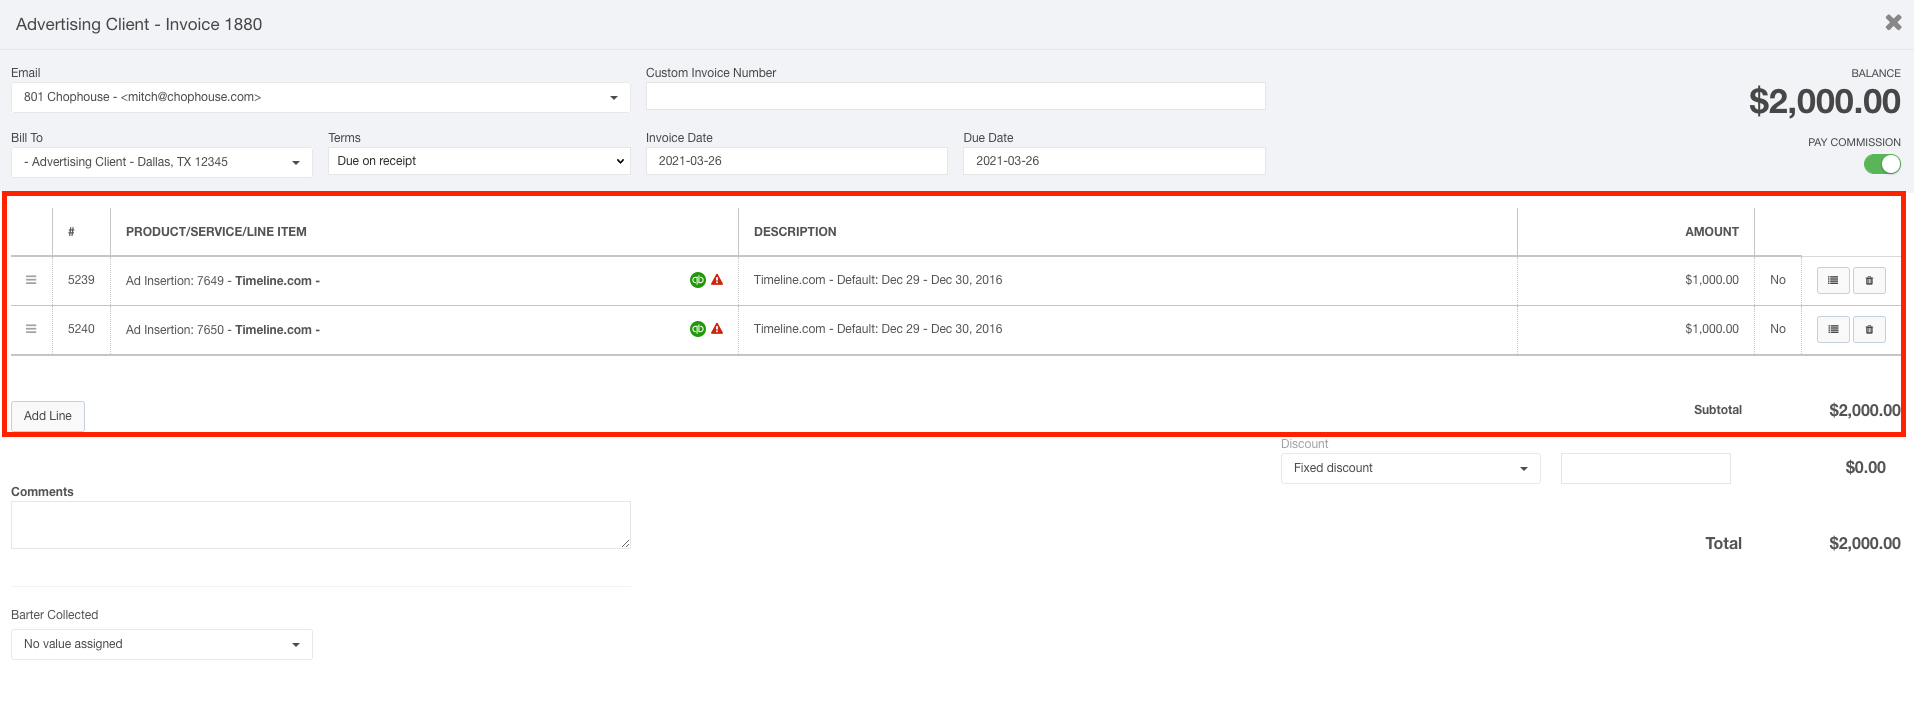
The Invoice Edit window displays important information at a quick glance. This window displays the invoice number, client information, invoice line items, and financial info.
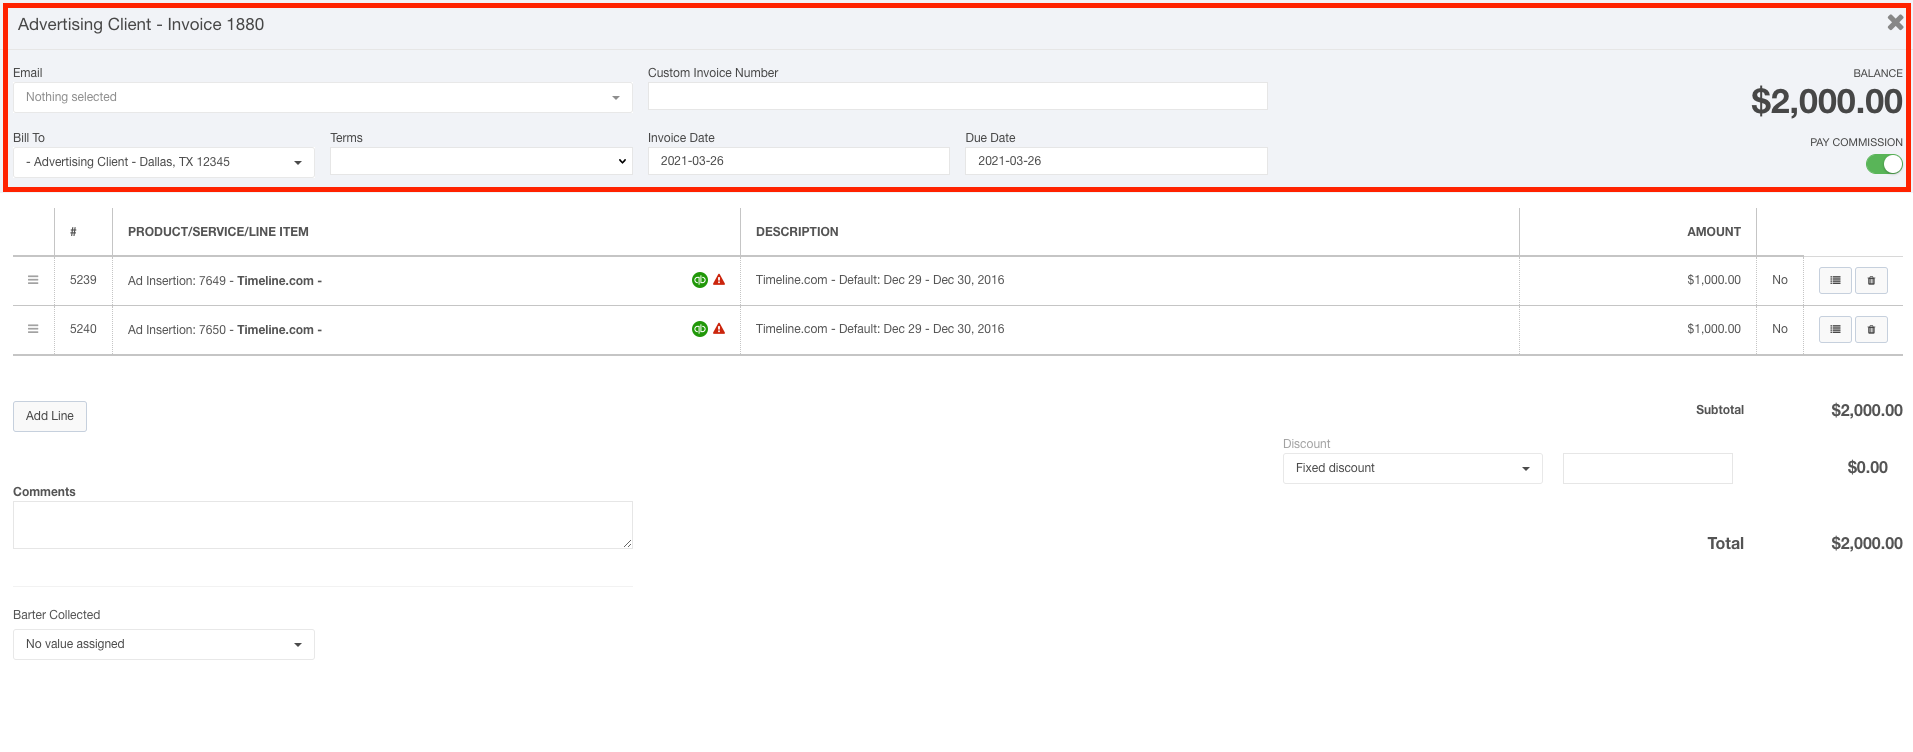
Across the top of the page, you will see the name of the client, the invoice number, the invoice balance, the email and bill-to contacts, terms, and invoiced and due dates.
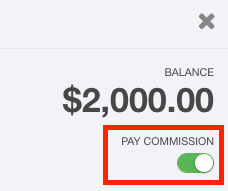
Enable the Pay Commissions toggle switch to pay out commission on this invoice.
The line items section displays the invoice number, the product/line item, the line item description, and the amount. You can also view your custom fields and remove the line item from this invoice in this section.
The first column allows you to drag and drop that row so you can sort information to your liking.
Drag-and-drop the  icon to your desired location.
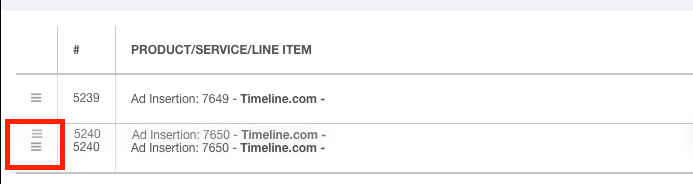
The  column displays the line item number.

Click the line item to display the edit options for this particular insertion:
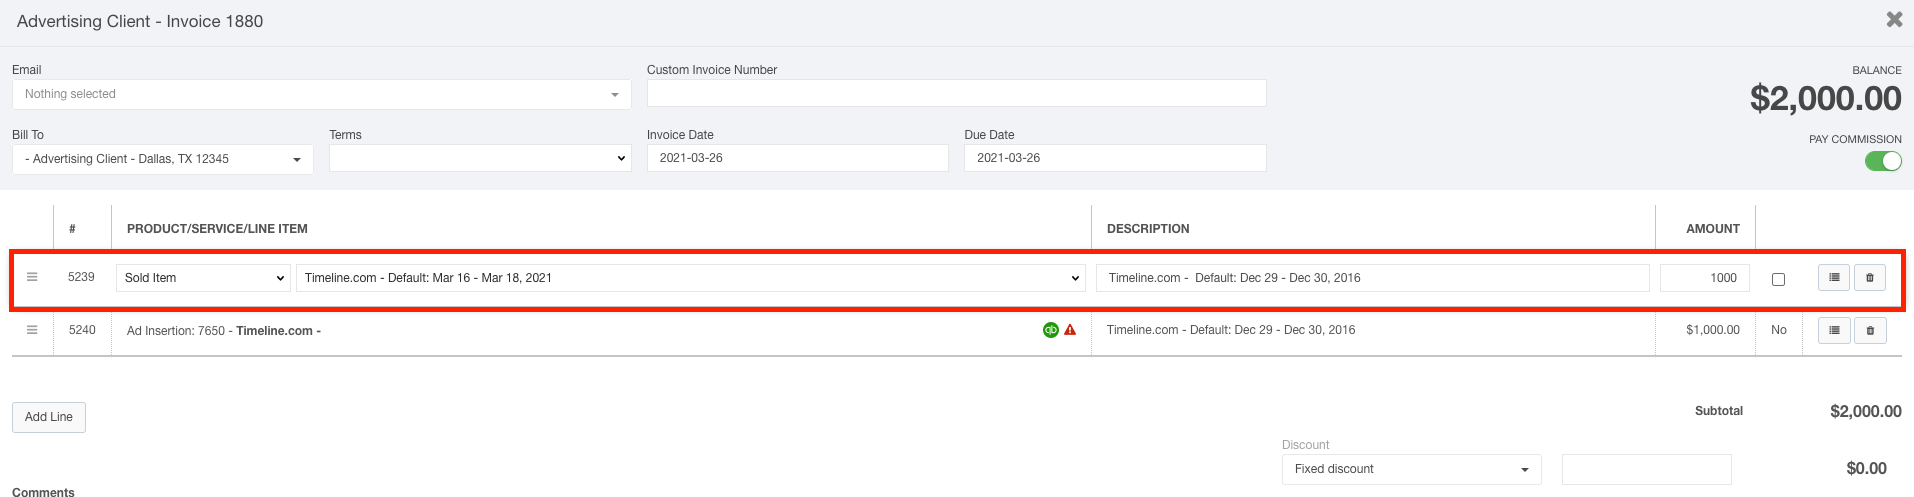
Use the Product/Service/Line Item drop-down field to select the product for this insertion.

You can also quickly see which line items are connected to QuickBooks, if applicable, by referencing the icons found on the Products field. The  icon means that there is an issue with this line item that must be addressed in your QuickBooks mapping. Click here for more information about integrating QuickBooks Online.
Use the Description field to enter the description for this line item.

The Amount field is where you can enter in the dollar amount for this line item.
Click the Tax check-box field if this line item is taxable.

Click the  button to display your custom fields.
Click the  button to remove this line item.
Click the Add Line button to add another line item to this invoice.
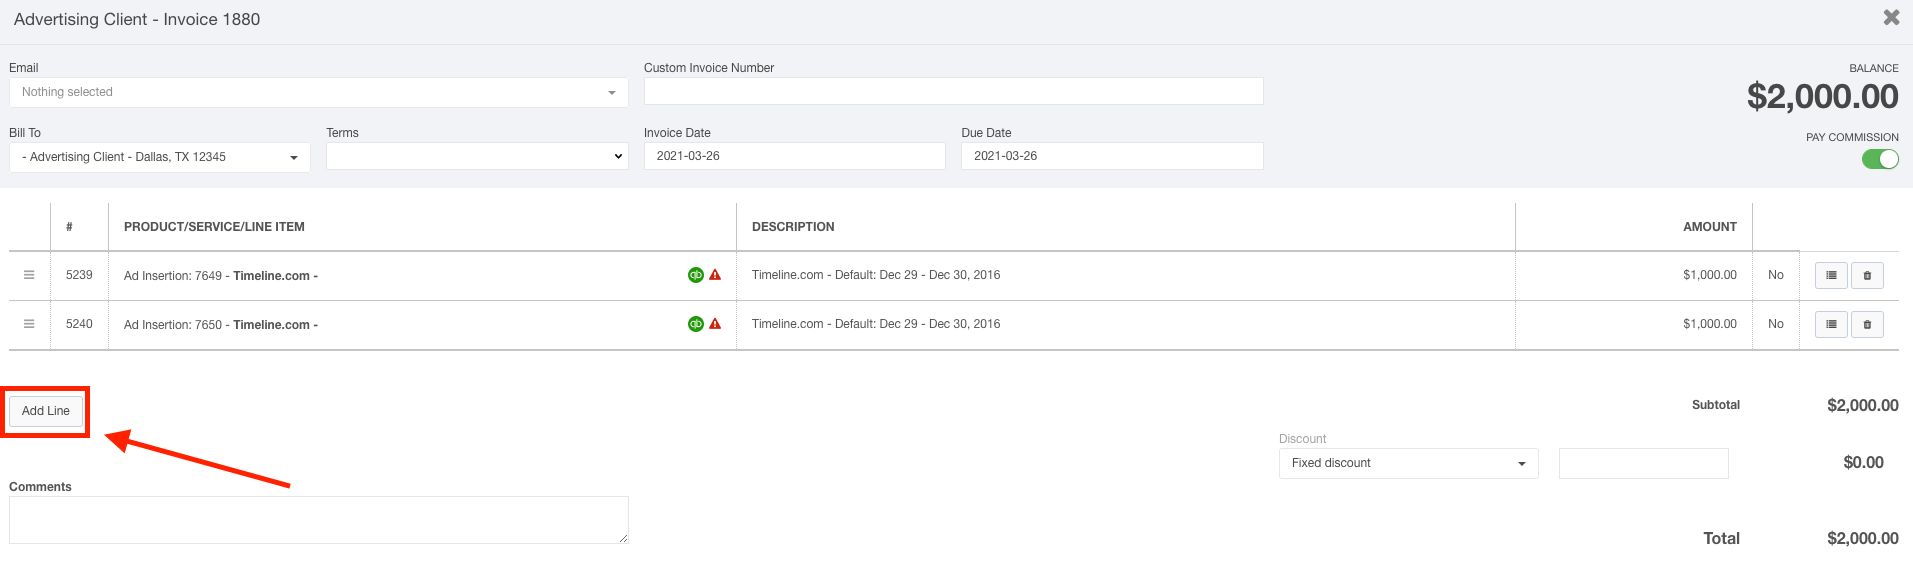
Use the Discount fields to choose whether you would like to apply a fixed or a percentage discount. Use the text field to enter your discount value.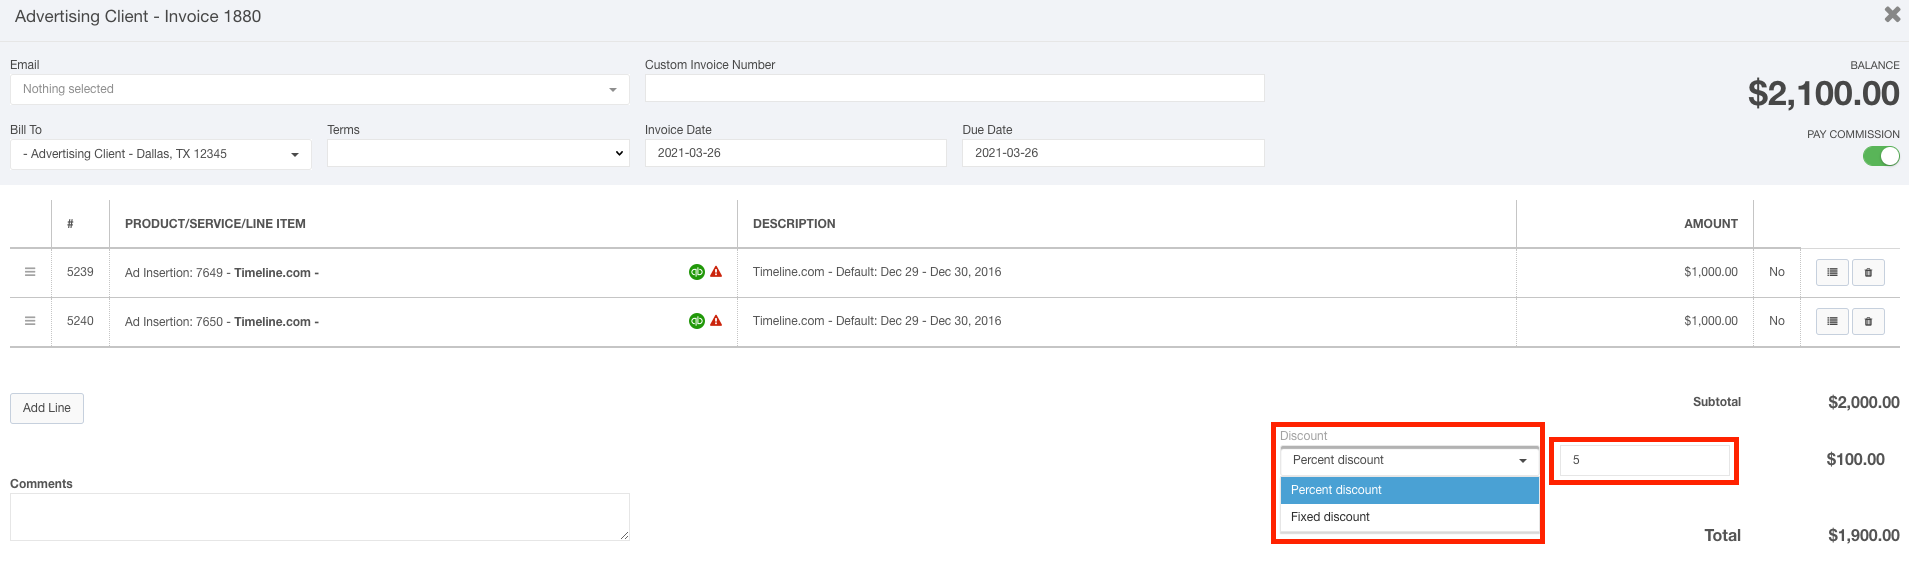
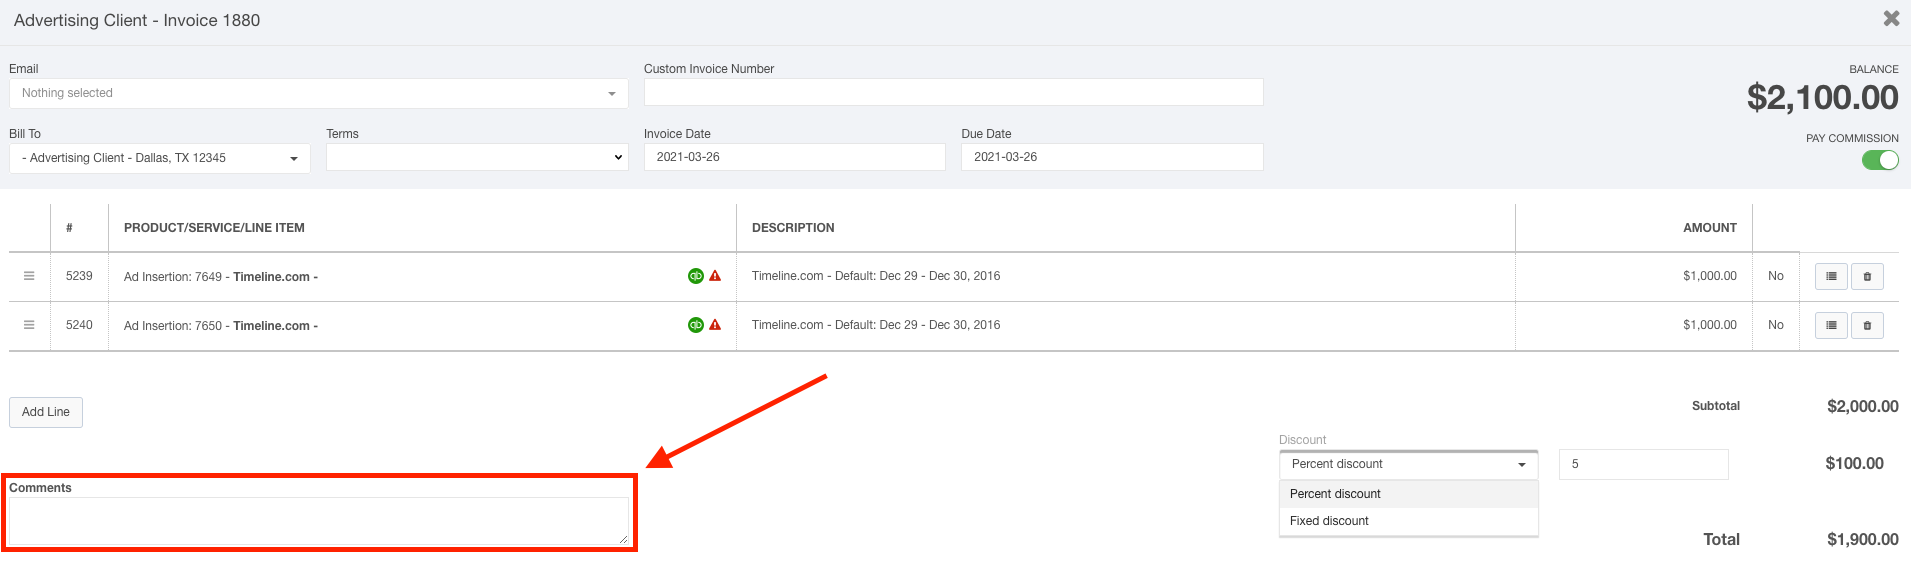
If this invoice requires comments, you can enter them in the Comments field.
Click the Save Invoice button when you are satisfied with your selections.