
- Ad Sales Genius Knowledge Base
- User Settings
Single Recipient Email Templates
This article will discuss how to create pre-written templates to quickly send messages to your contacts.
When sending an email to your contacts, you can make your job easier by creating pre-written templates. This will help you achieve a consistent message for all of your users. This article will discuss how to access, manage, and create these templates.
Accessing Email Templates
Follow these steps to access your email templates:
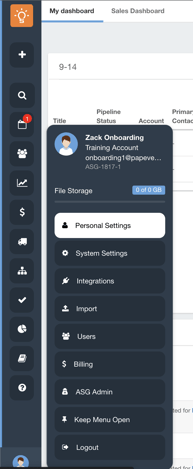
- Either from your Personal Settings or Click Email from anywhere inside Ad Sales Genius.
- Navigate to your Personal Settings and then Email Templates
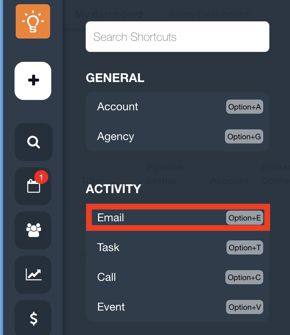
- From the Quick-Add Menu:
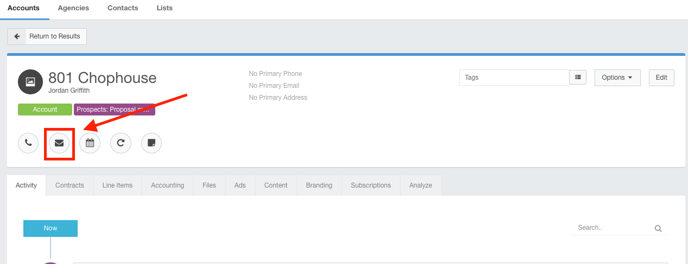
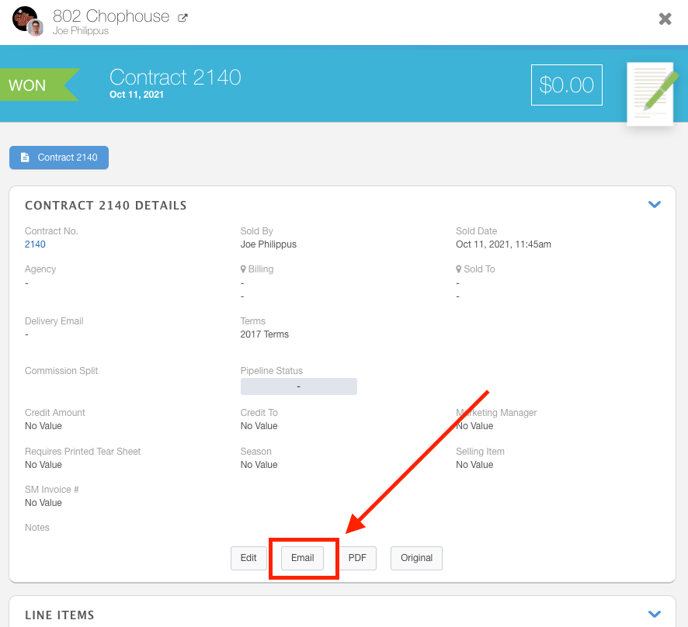
- From an Account:
- From a Contact:
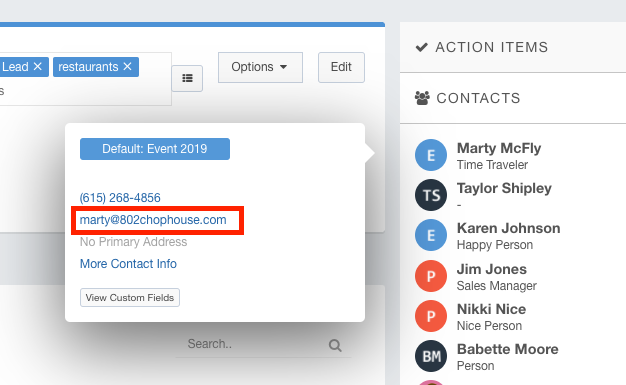
- From the detail panels:
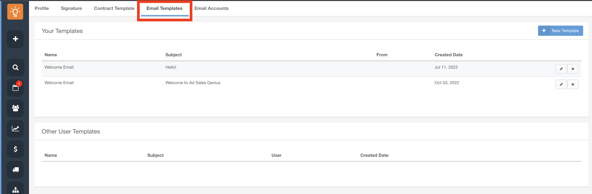
- Navigate to your Personal Settings and then Email Templates
- From the Compose Email dialog, click on the Templates button.
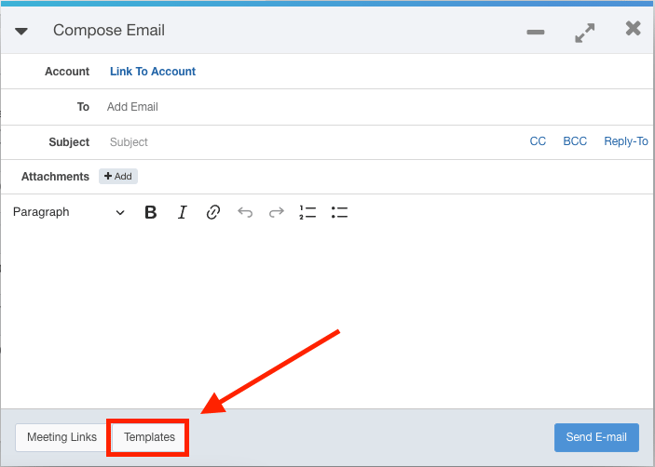
- You will now see your account's existing email templates. Click on the template to choose this for your email.
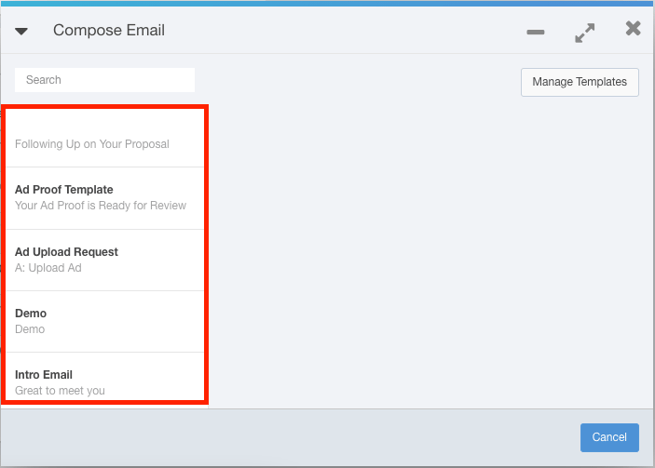
You can also create new templates by clicking the Manage Templates button.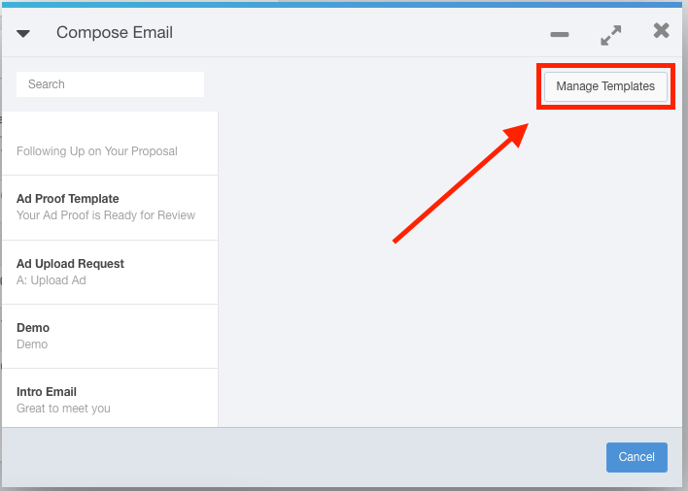
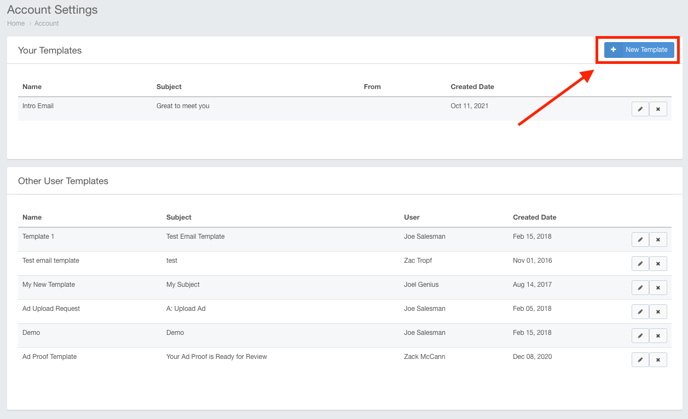
Here, you can create, edit and delete your email templates.
- Click the +New Template button to create a new template.
- Click the
 button to edit that template.
 - Click the
 button to remove that template.
Creating a New Template
- From the Email Templates window, click the +New Template button.
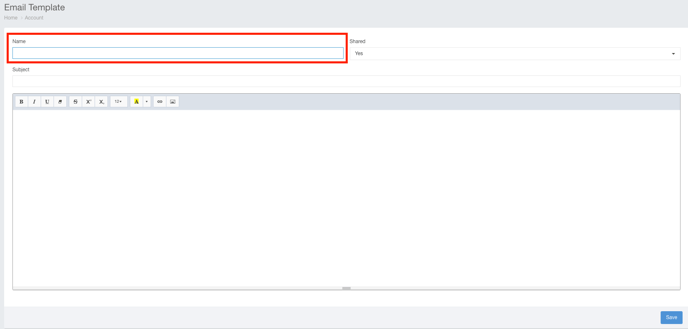
- Use the Name field to name your email template.
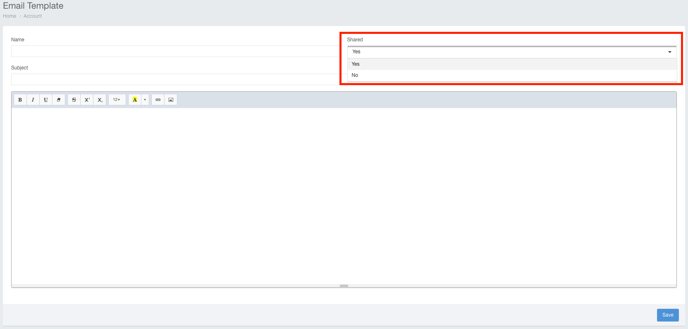
- Use the Shared drop-down menu to choose where you would like other users to be able to use this template.
- Use the Subject field to input a subject line for your emails.

- Use the Body field to create your email.
Note: This field also supports HTML, so if you have code that you would like to enter here, it will be converted to the finished product upon clicking Save.